We earn commission when you buy through affiliate links.
This does not influence our reviews or recommendations.Learn more.
On 6th June 2022, Apple launched the much-awaited macOS 13 Ventura, replacing the macOS 12 Monterey.
The new OS certainly created a buzz among Mac users.
It enhanced the overall experience of the Macbook to a new level with its feature-rich ambiance.
And we all know Apple does it often to its Mac users.
The software is coined as OpenCore Legacy Patcher (OCLP).
Amazing, isnt it?
So how did something like OCLP come into play?
And the developers behind OCLP gave this idea a green flag.
In the next section, well see how the idea was made possible.
How Does OCLP Work?
OpenCore is a free replacement for Apple UEFI and iBoot (Apples bootloader) software.
Thereby tricking the Mac into running an upgraded macOS on an unsupported system.
The process is so seamlessly efficient that it can run on legacy Mac products and computers from other manufacturers.
But how does OCLP actually work?
Apple jumped a few steps ahead to remove support for older x86 processors that dont support theAVX2 instruction set.
The AVX2 instruction set instructs the OS to boot on certain CPUs or Macbooks officially supported by Apple.
Simply put, Apple restricted the OS from booting on CPUs without those instructions.
But the hurdles were well accepted by the developers of OCLP.
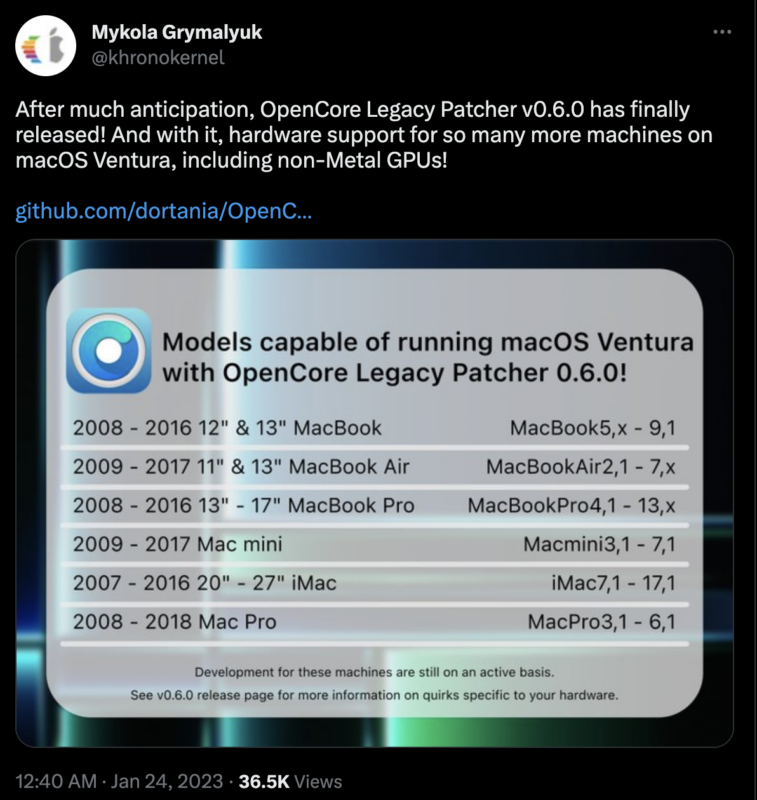
This tool is designed to support a wide range of the latest and discontinued Mac devices.
Besides, you could enjoy native Over the Air (OTA) system updates.
So that without requiring any official permissions, OCLP can offer users with time-sensitive updates.
#2.Bootloader
OpenCore uses a bootloader to fire up the booting of macOS Ventura on unsupported hardware.
you might unlock features such as Sidecar and AirPlay to Mac, even on native Macs.
#3.Configuration
Using OCLP, you’re able to customize the macOS installation.
The community provides resources and documentation to help troubleshoot any issues you might encounter with the tool.
#6.Security
OpenCore comes with a secured and protected environment.
It has built-in System Integrity Protection, im4m Secure Boot and Vaulting, and FileVault 2.
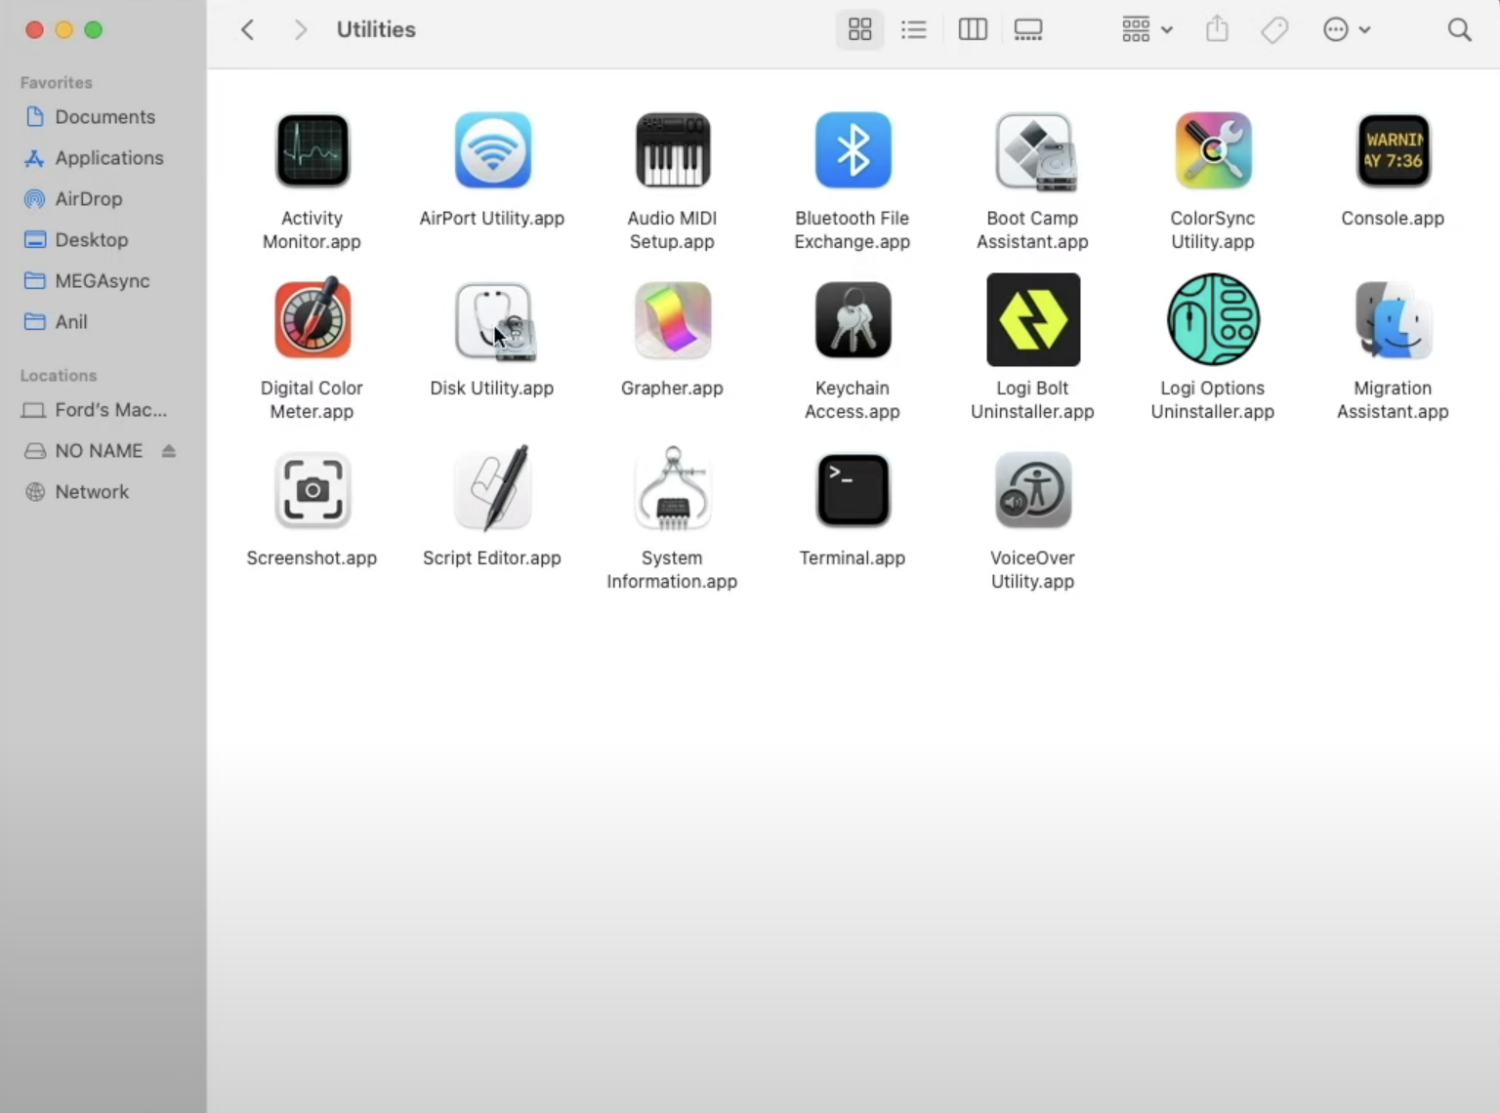
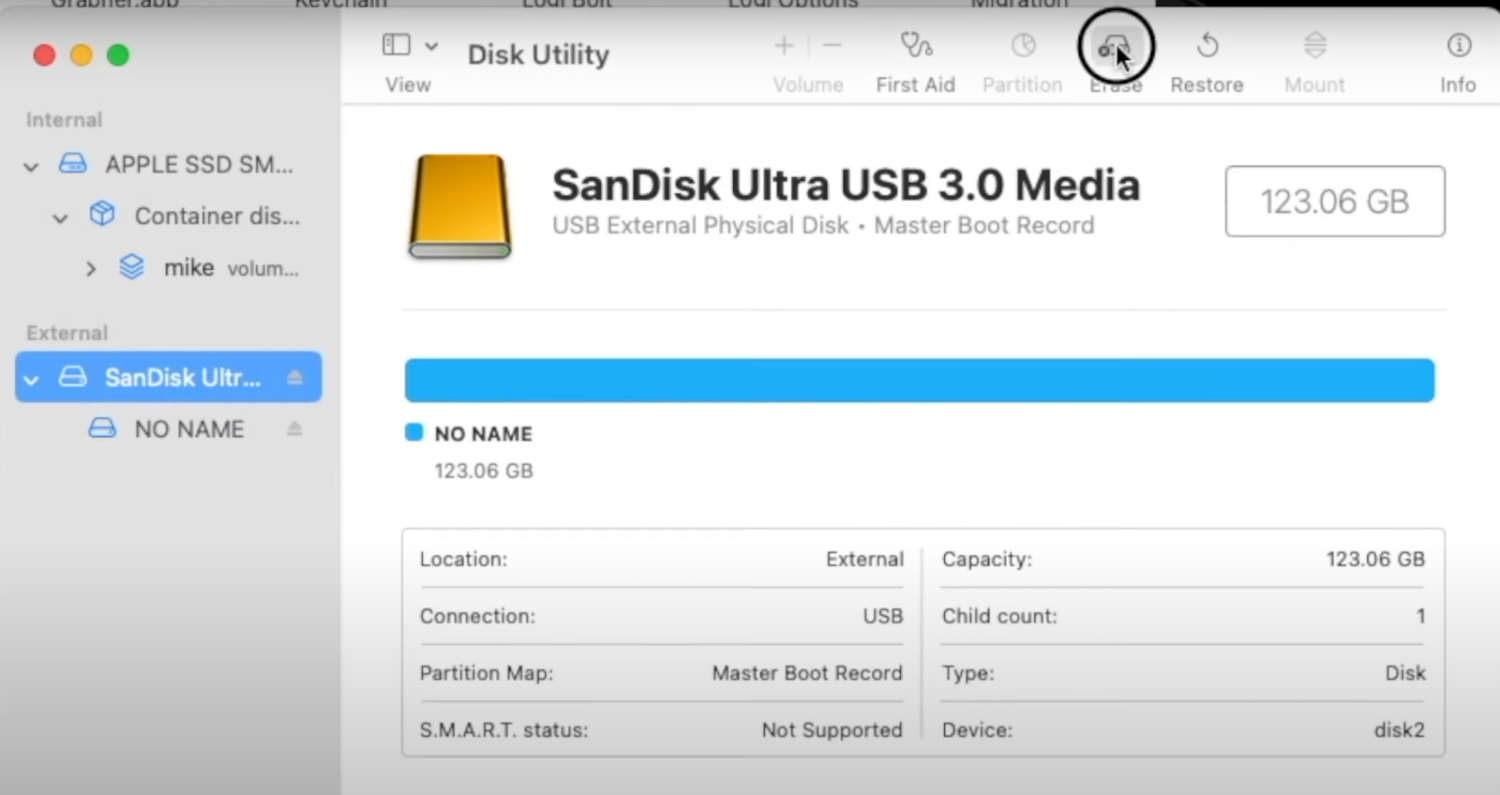
Step 1.
For example, here, we have selectedSanDisk Ultra USB 3.0 Mediaas our external disk.
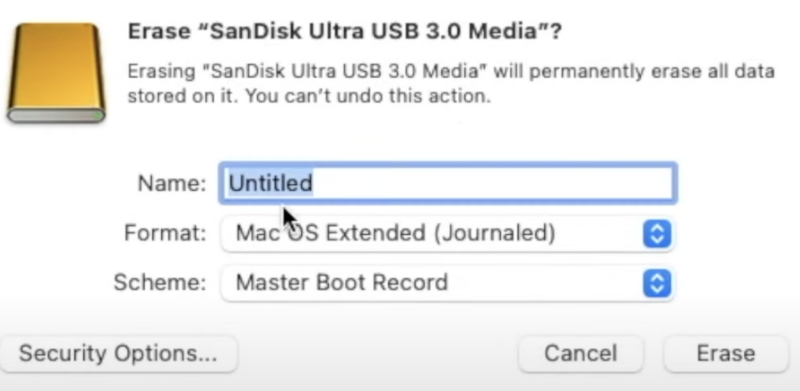
As you punch erase, a dialogue box appears with the following options.
Next, change the disks name to OCLP_Installer or something you might easily recognize later on.
And, the Scheme to GUID Partition Mac.
Click onEraseto get the USB drive ready to set-up using OpenCore Legacy Patcher.
Step 2.
Download and Install OCLP
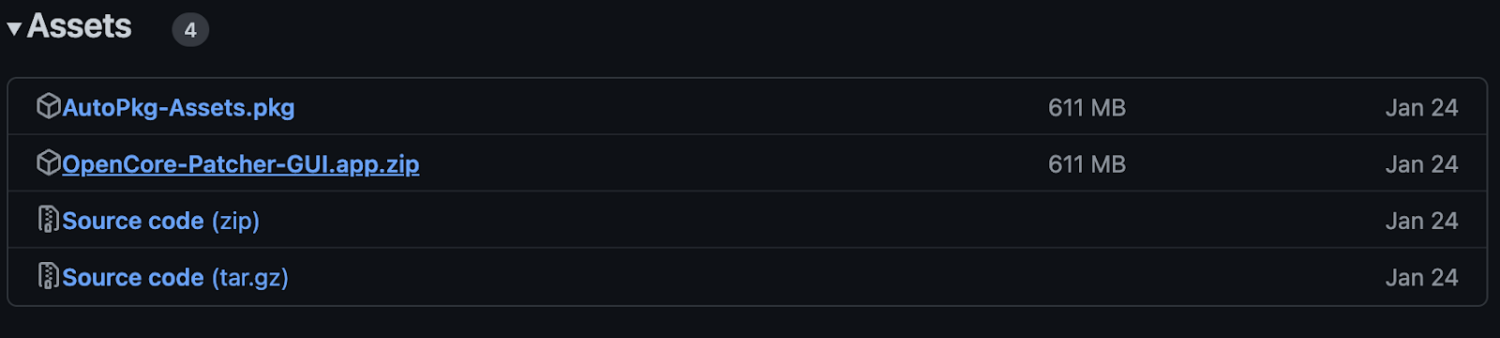
VisitGithubs OpenCore Legacy Patcher releases pageand download the OCLP zip file.
double-check to download the latest version of OCLP available on the page.
Note:The page doesnt have a big-bold download button.
So you gotta scroll down a bit, select theAssetdropdown, and selectOpenCore-Ptcher-GUI.app.zipto download it on your Mac.
Step 3.
Download MacOS Ventura
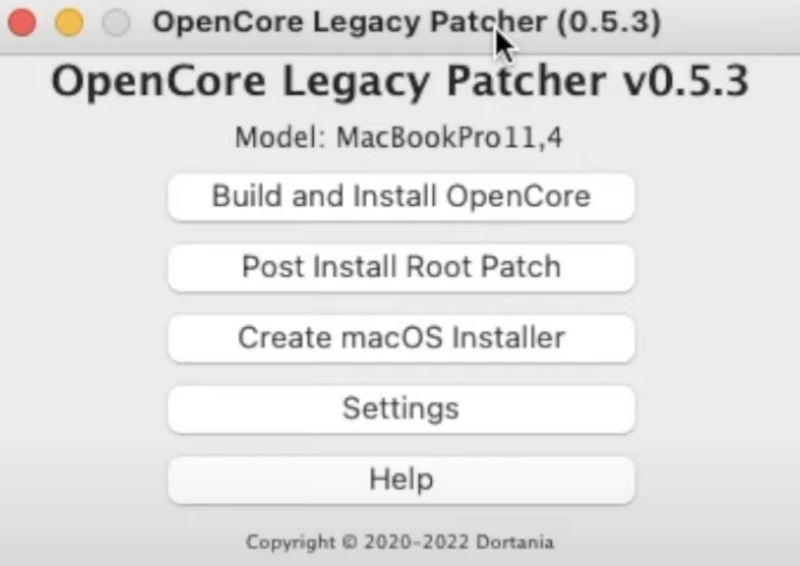
When you choose the OpenCore app, you will see a menu having several options.
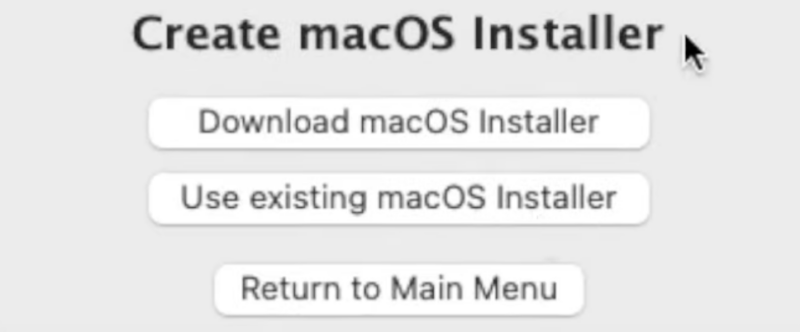
The first thing we will do is to download macOS Ventura.
To do so, selectCreate macOS Installerfrom the menu.
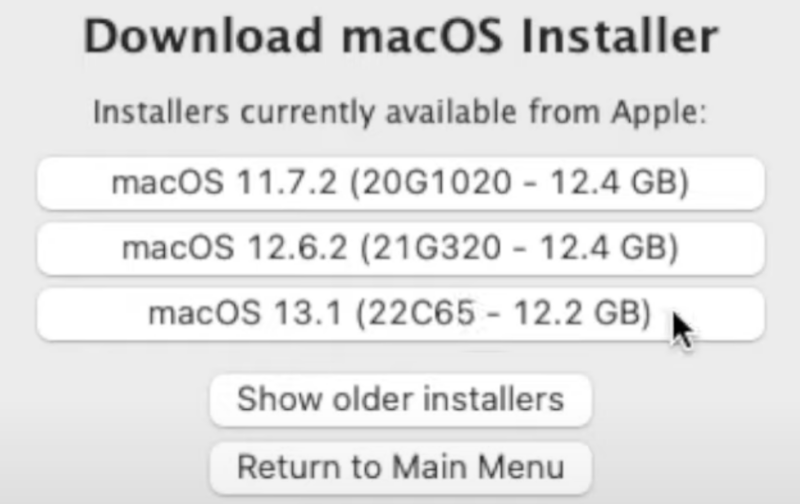
A while after, you will be prompted with a list of installers currently available from apple.
To download macOS Ventura, selectmacOS 13.1 (22C65 12.2 GB).
Now brew yourself a cup of coffee and let your Mac drop in the macOS Ventura file.
There might be some flash prompts wanting you to enter an admin password at times.
So do keep an eye for them.
Step 4.
Create a Bootable Mac Ventura USB Drive
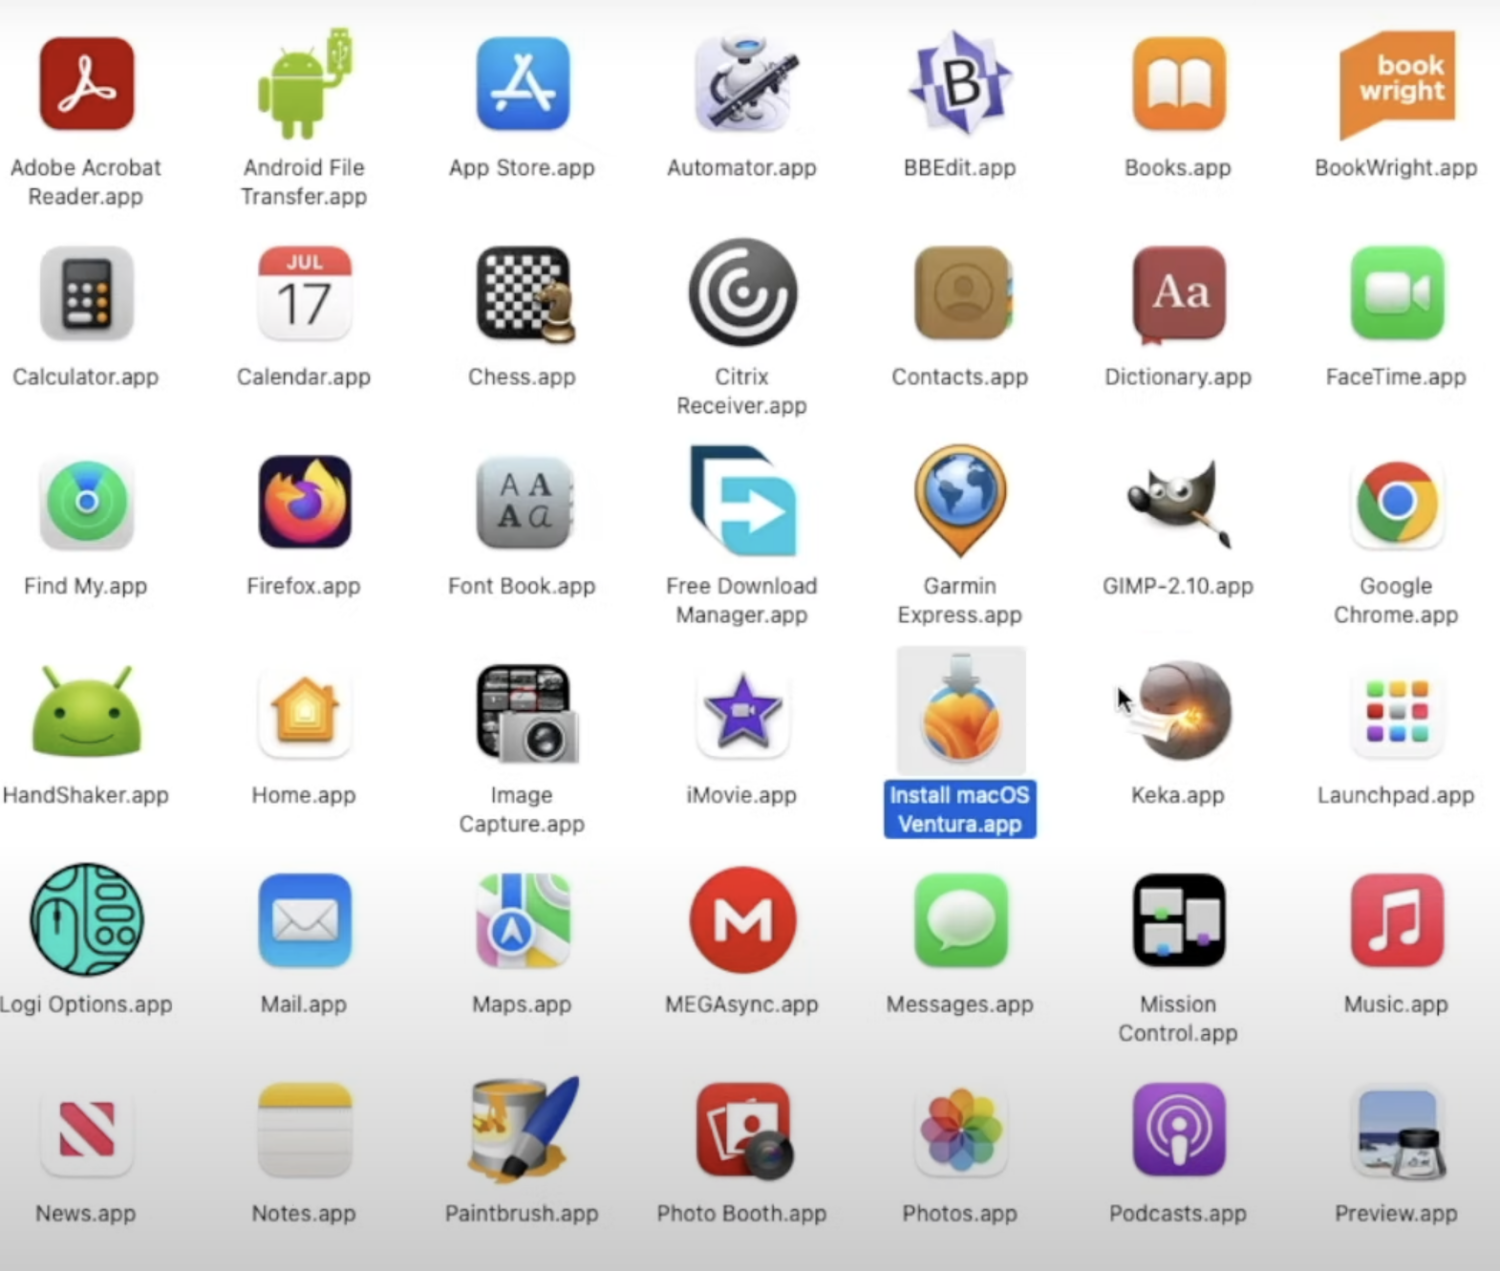
Once the OS is installed, its visible in the software folder.
Quite right here:
Now heres the main thing.
If you hit the icon to install macOS Ventura directly, your mac wont allow it.
Since youre using an unsupported model.
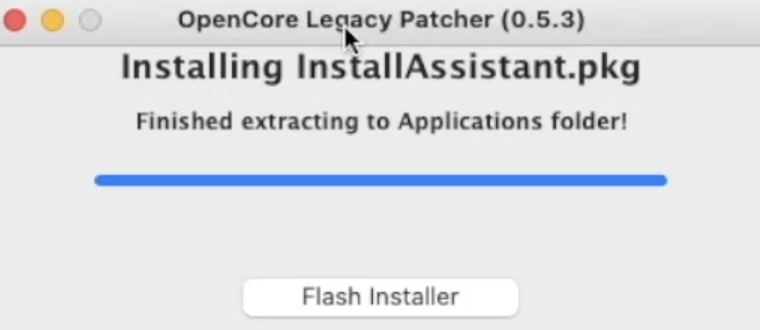
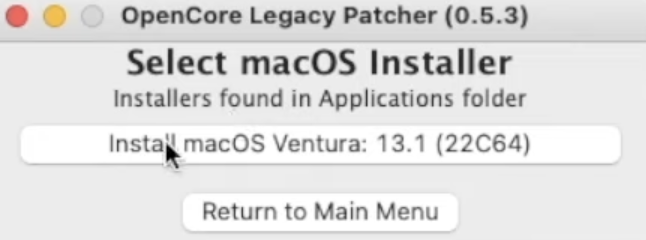
Instead, go back to OpenCore Legacy Patcher and click onFlash Installer.
OCLP, by default, will provide you with all the macOS versions available on your system.
Like we had the macOS Ventura installer on our system, and OCLP automatically detected it for us.
Click onInstalland then provide all the necessary permissions as asked for by OCLP.
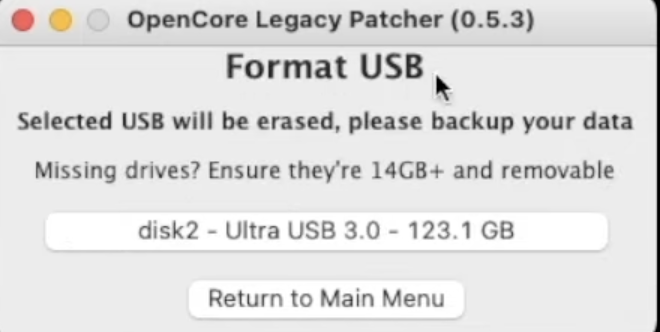
Next, go for the external drive in which you want to plant the macOS.
Ensure the drive is 14GB+ and removable.
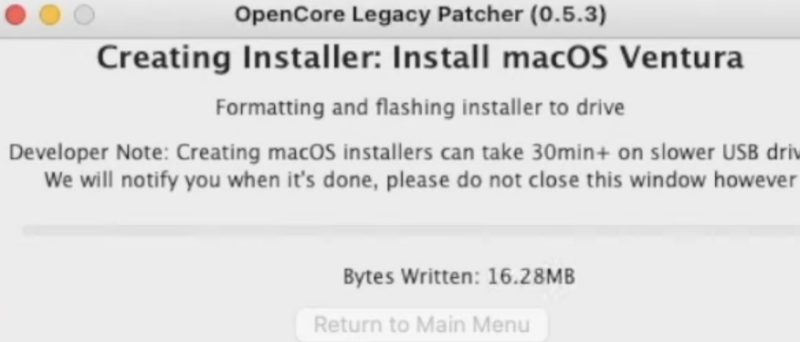
once you nail selected the drive, the system starts the process of creating an installer.
Again, it might take a while so be patient.
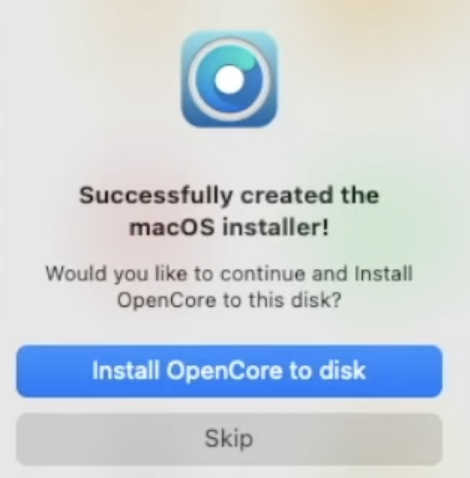
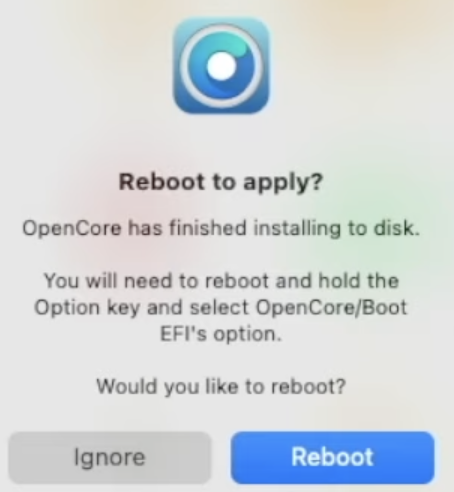
Hence, you must install it by clicking onInstall OpenCore to disk.
Now its time to reboot your Mac and experience macOS Ventura on your system.
Click onRebootand wait for the system to shutdown.
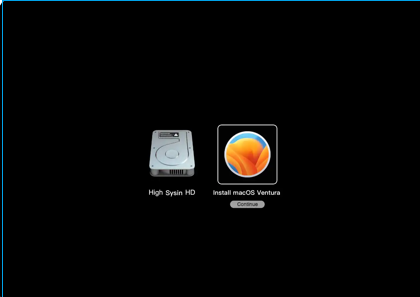
Step 5.
On the next screen, selectInstall macOS Venturaand pressEnter.
You have successfully installed macOS Ventura on your unsupported Mac using OpenCore.
However, some things may not work as you expected since the project is an unauthorized modification by Apple.
Besides, the OCLP team still has other challenges on their minds.
You may also explore how to reinstall macOS.
