We earn commission when you buy through affiliate links.
This does not influence our reviews or recommendations.Learn more.
Youre not alone if youve encountered d3dx9_43.dll not found or d3dx9_43.dll missing on your Windows PC.
Many users face this when running certain applications or games requiring DirectX 9.
This program facilitates resources for games like League of Legends, GTA, Guild Wars, Noire, etc.
Some users accidentally deleted the .dll file and received the not found fault signal.

You might see this error notification even if your system got a bug.
What Is d3dx9_43.dll and Why Is It Important?
D3dx9_43.dll is a dynamic link library file, and it is a part of the Microsoft DirectX software collection.
The absence of D3dx9_43.dll can cause errors such asd3dx9_43.dll is missing or d3dx9_43.dll not found.
Why Does the d3dx9_43.dll Missing/Not Found Error Occur?
1.Outdated or corrupted DirectX installation.
2.Malware or virus infection.
3.You have deleted the DLL file accidentally.
4.Incomplete or faulty installation of the program that needs the DLL file for running.
5.Hardware failure or compatibility issues with the graphics card.
Try all the resolutions we have mentioned below, and the d3dx9_43.dll missing error will be resolved.
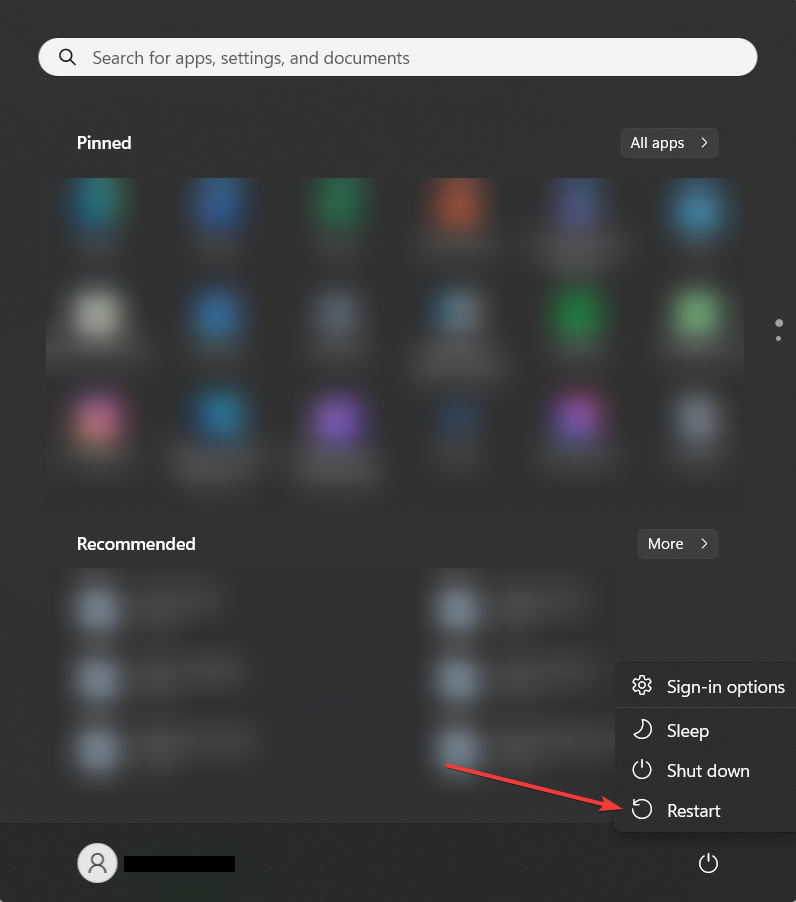
In such cases, simply restarting your system can handle the problem.
Heres how to cycle your rig.
1.First, select theWindows Start menuand select thePower icon.
Reinstall DirectX
1.First, go to the officialMicrosoft DirectX Installerdownload page.
2.Then, click theDownloadbutton to start the downloading process.
3.As the download completes, run thesetup file.
4.Now, follow the simple on-screen instructions to complete the installation.
5.Finally,restartyour PC for the changes to take effect.
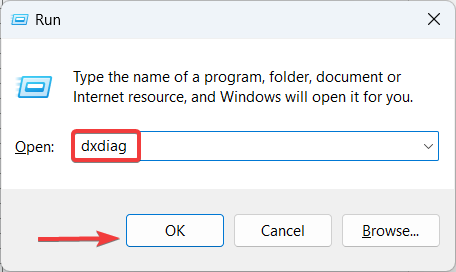
1.Press theWindows key + Rto open theRun dialogue boxon your system.
Uninstall it from your machine and check whether the issue is resolved.
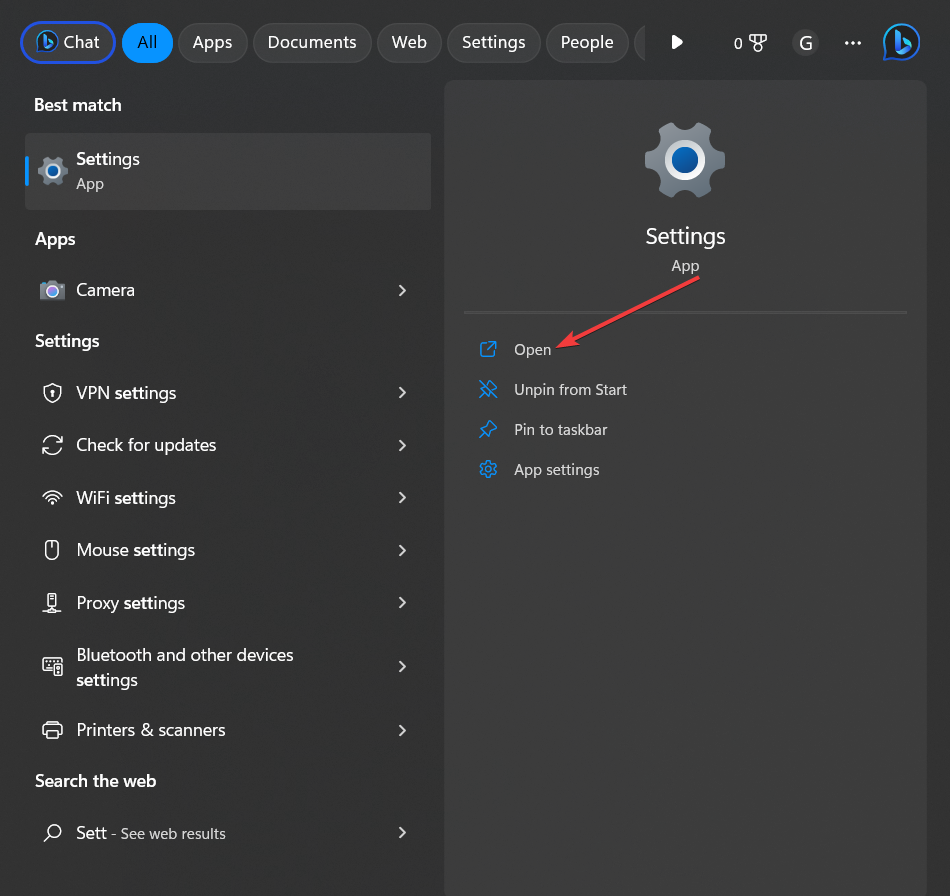
1.First, press theWindows iconfrom the left of the taskbar.
2.Then, from theStartmenu, selectSettings.
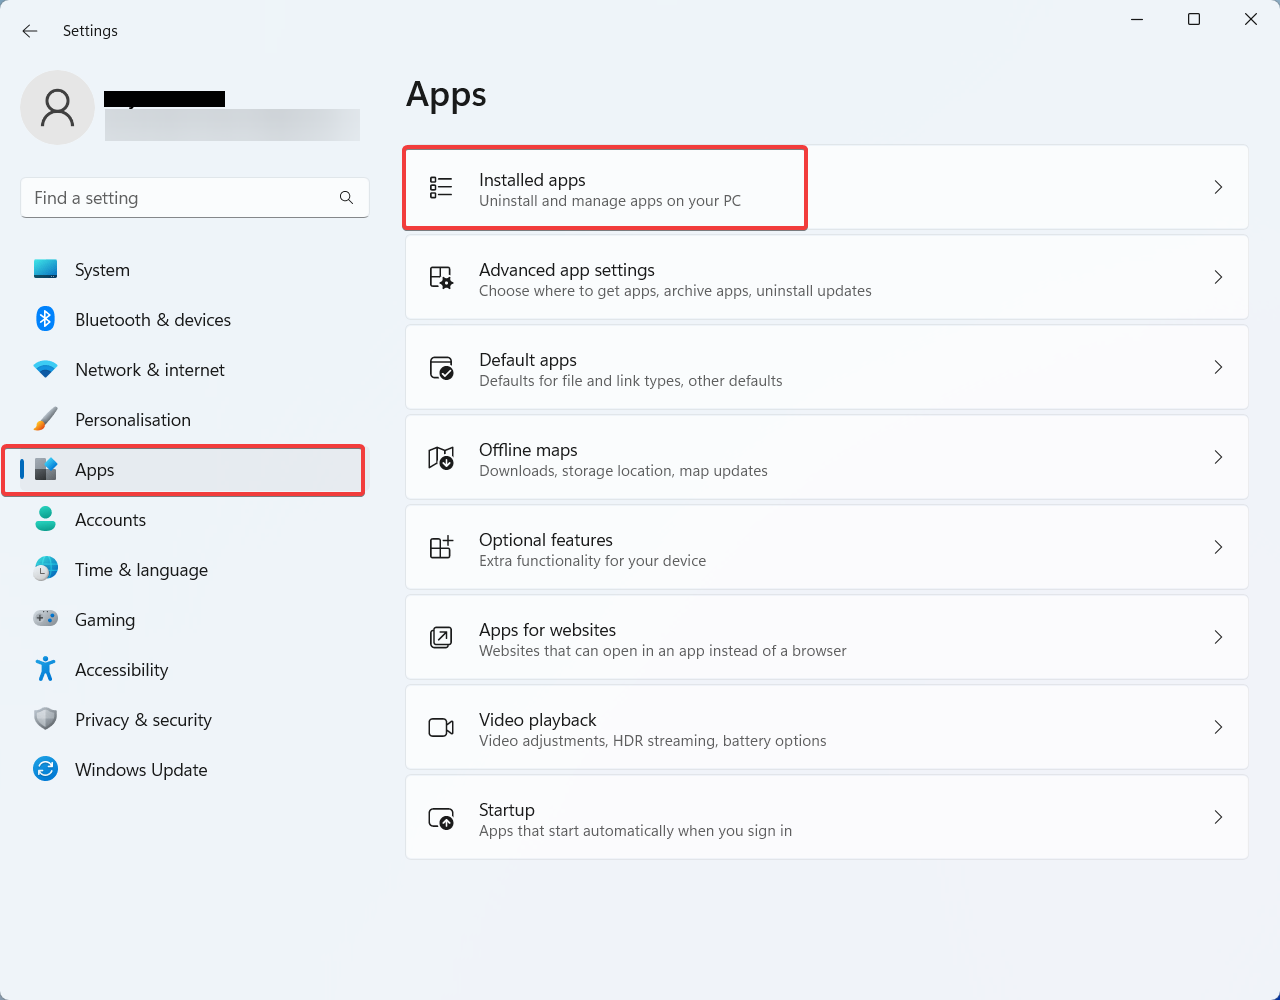
3.As the prefs window opens, select theAppstab from the left pane.
4.Now select theInstalled Appstab from the list of options.
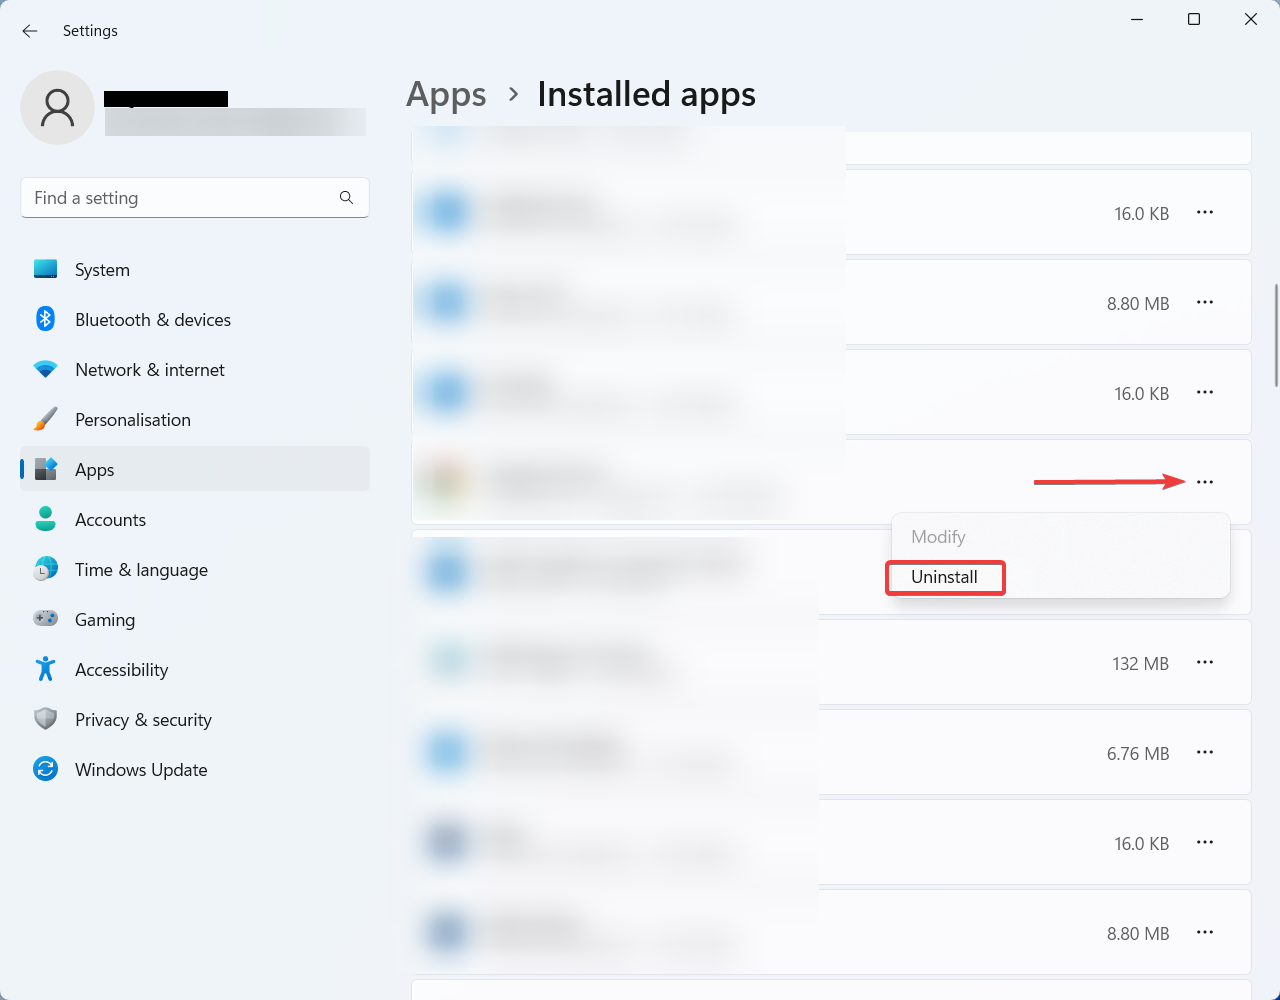
5.Then, locate theapplicationyou want touninstallfrom the list of installed applications.
6.press theMore options button(…)associated with the tool and choose the Uninstall button.
7.Now,finish the uninstallationprocess following the on-screen instructions.
Run Windows Security Scan
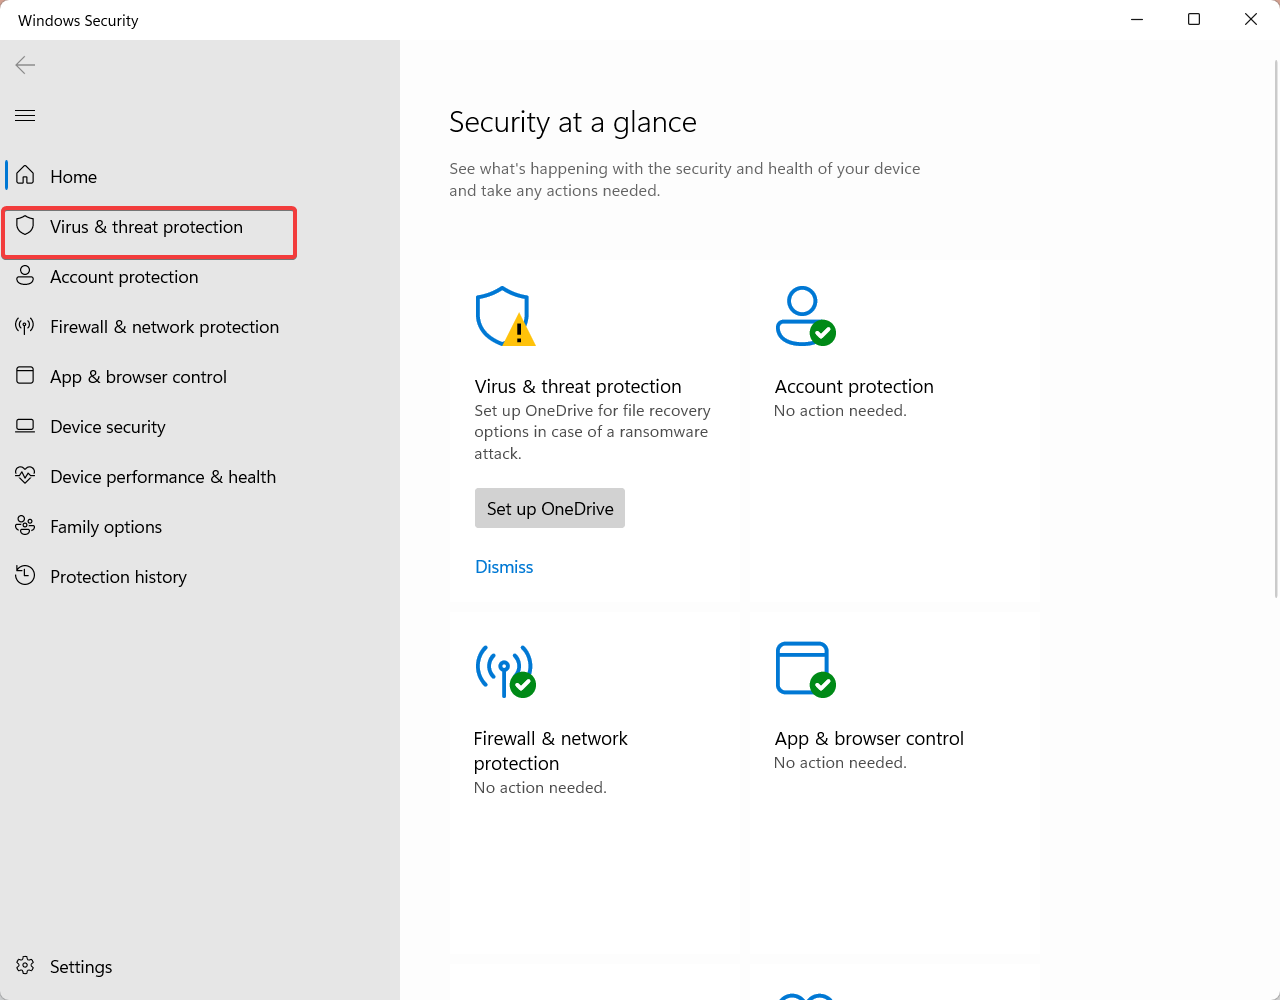
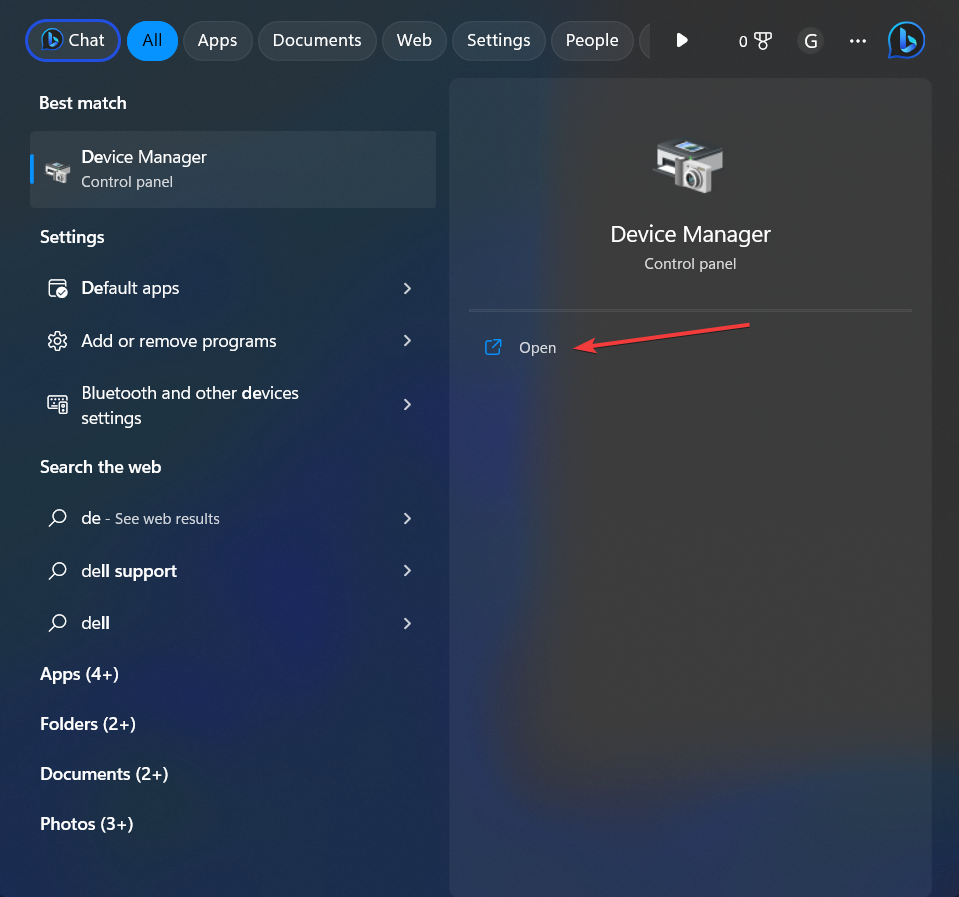
1.Press theWindowsKey and typeWindows Security.
2.Now openWindows Securityfrom the search result.
3.SelectVirus & threat protectionfrom the left pane as the new window opens.
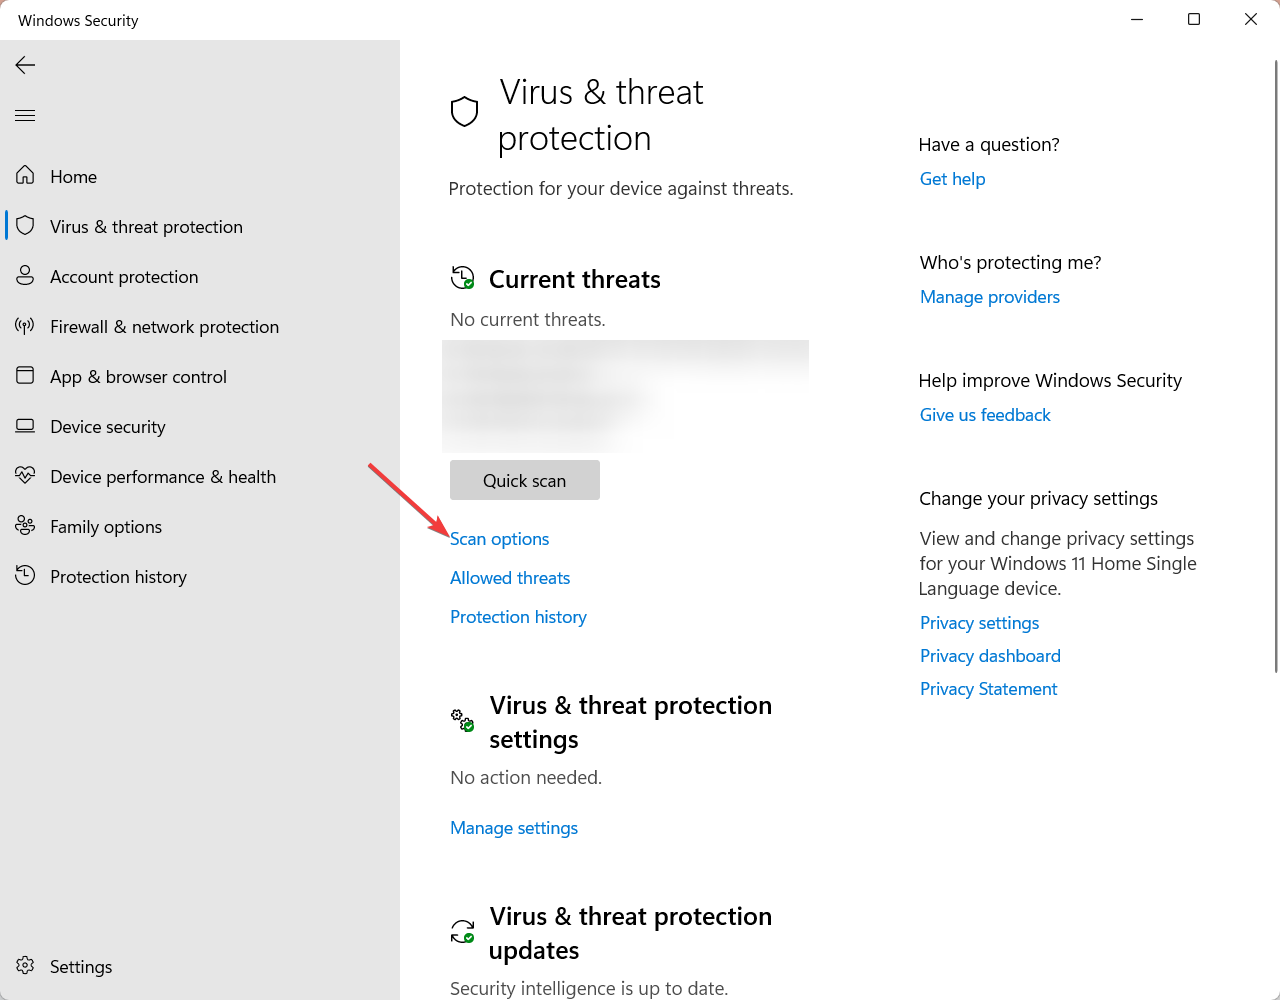
4.Then, under Virus & Threat protection, click onScan options.
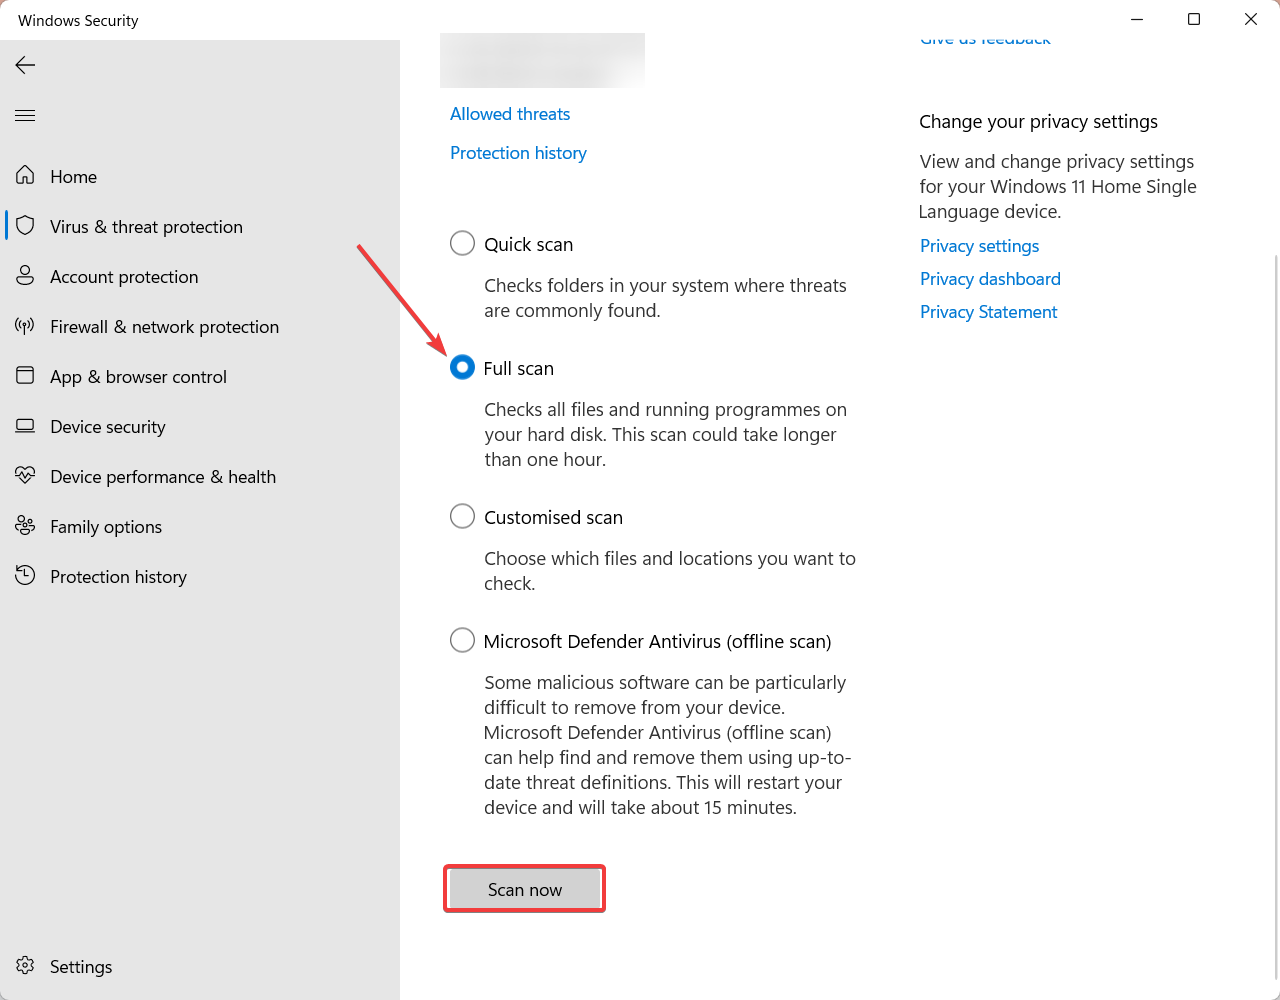
5.Now, from the list of options, selectFull Scan.

6.Finally, scroll down and select theScan Nowbutton.
7.Wait untilWindows Securitycompletes the scan, and upon completion, follow the on-screen instructions.
Here are the steps you oughta update the display driver on your Windows computer.
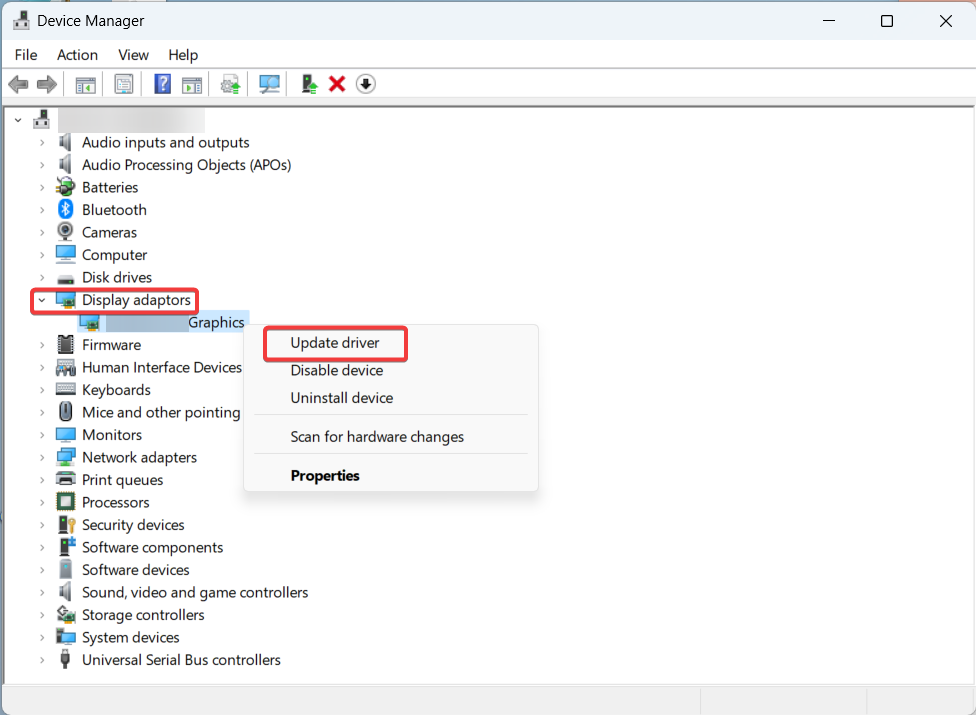
1.Right-punch theWindows Logofrom the taskbar.
2.From the list of options, selectDevice Manager.
3.From the machine Manager window, expand theDisplay Adapterstab.
4.Now, right-punch yourDisplay adaptorsand select theUpdate driveroption.
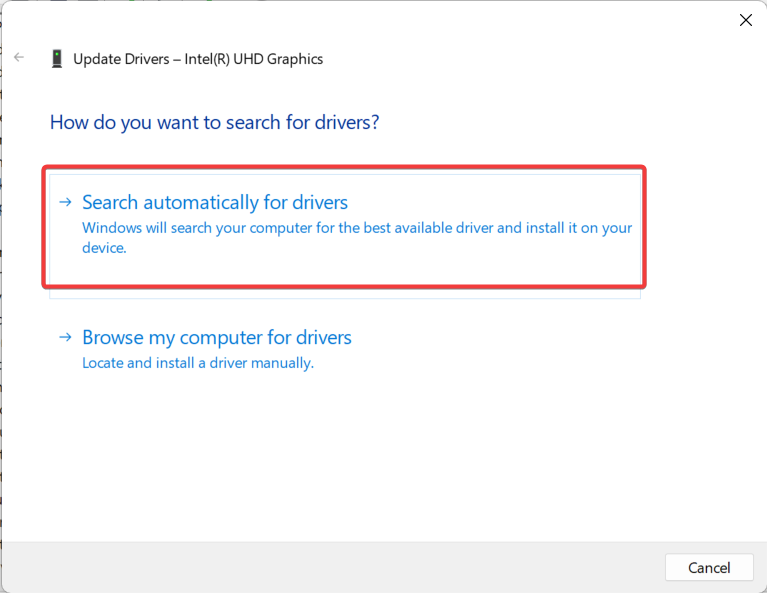
5.Then on theupdate Driverswindow, select theSearch automatically for driversoption.
6.Now, wait untilWindowscompletes the search to load the available updates.
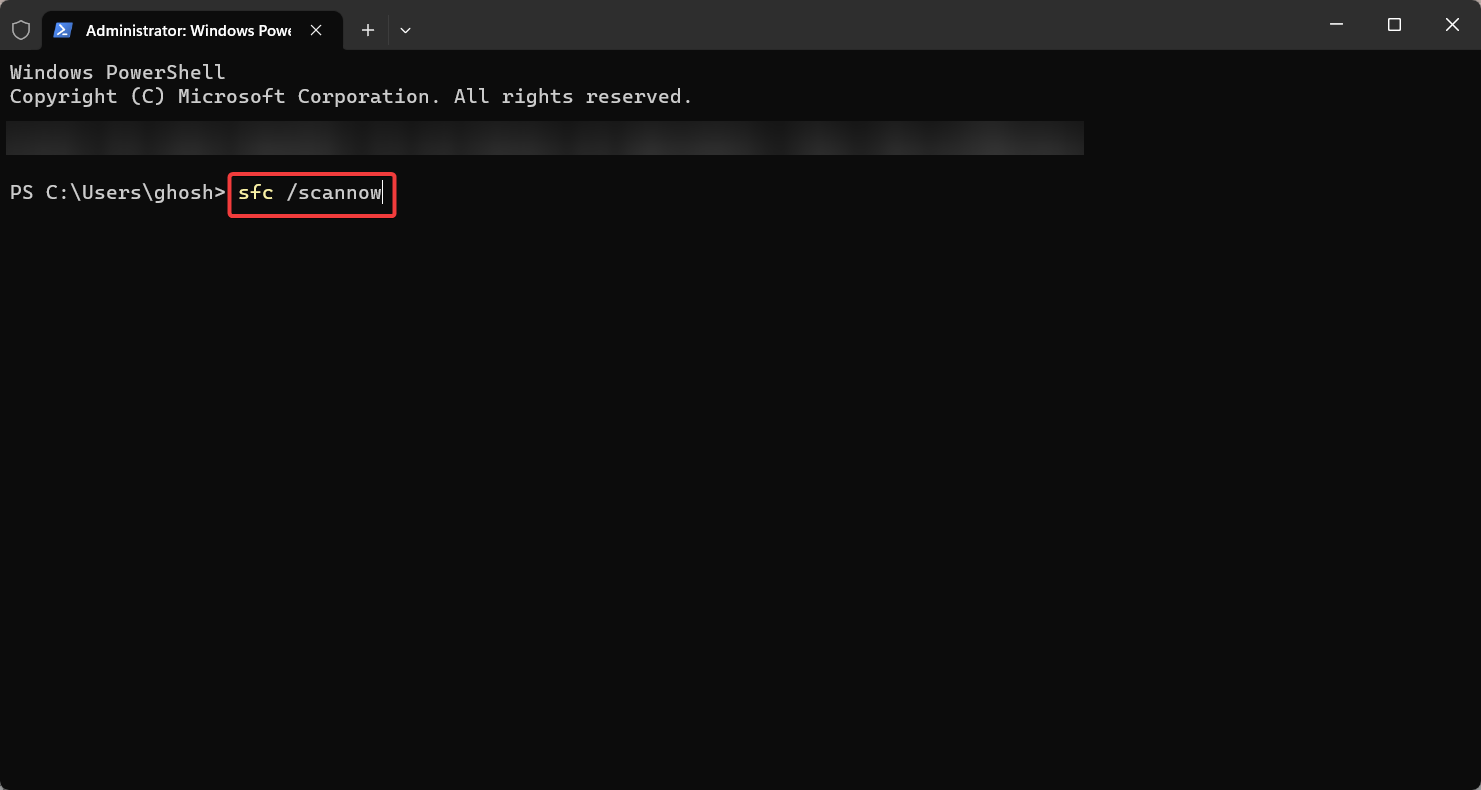
2.Now, from the list of options, selectTerminal (Admin).
3.Then key in in the followingcommandon thecommand promptwindow and press Enter.
sfc /scannow
4.The scan may take some time to complete, so be patient.
Once the SFC scan is finished, find out if the d3dx9_43.dll is resolved or not.
However, if the problem is still there, follow the further steps below.
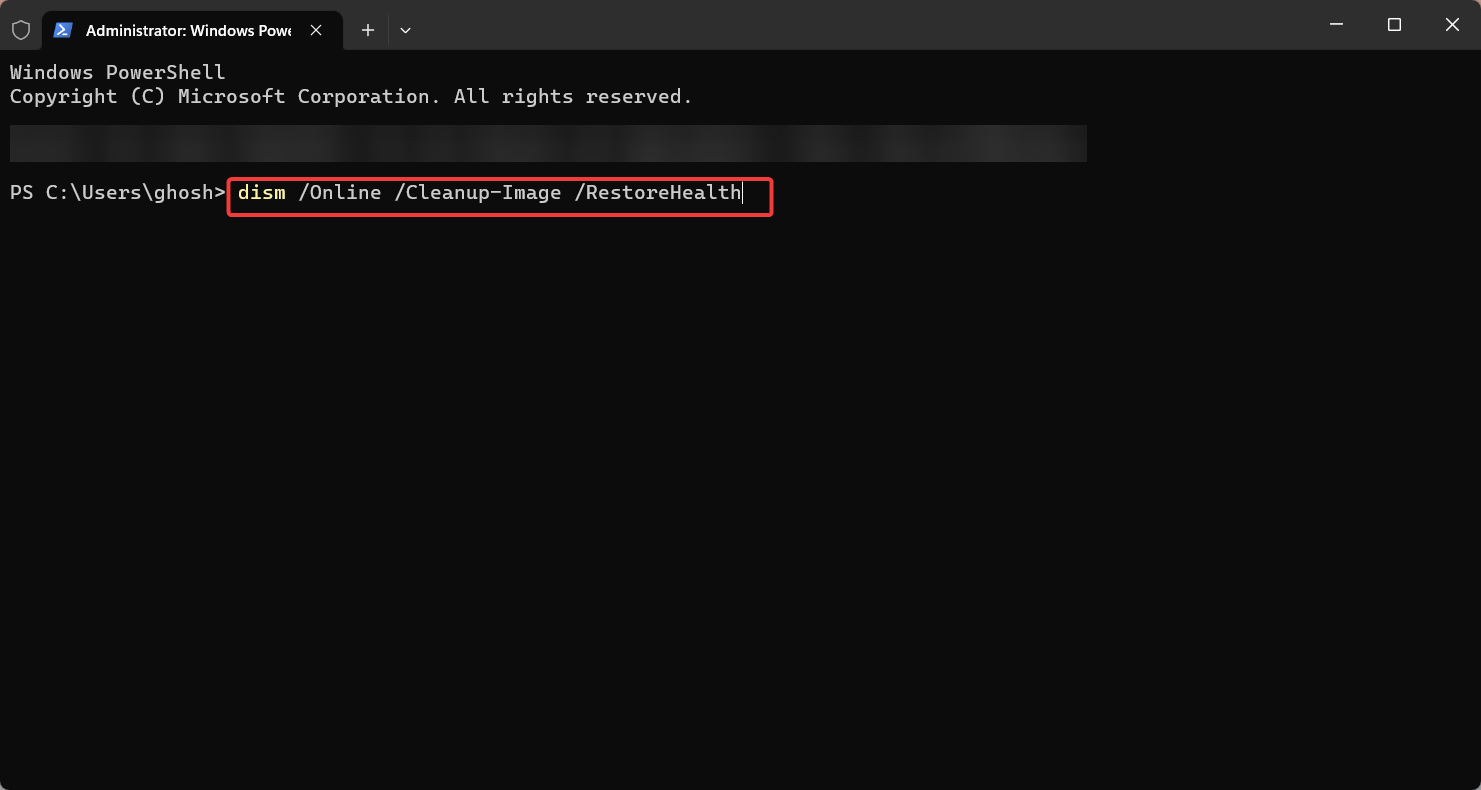
1.Run theCommand Promptwith administrative rights as before.
2.Now, throw in in the following command and pressEnter.
This will scan your system for any possible corruption and fix it if possible.
dism /Online /Cleanup-Image /RestoreHealth
4.Wait for theDISM scanto complete.
It can take up to 30 minutes, depending on the size of your system.
5.Once the repair process has been completed,restartyour computer and find out if the issue has been resolved.
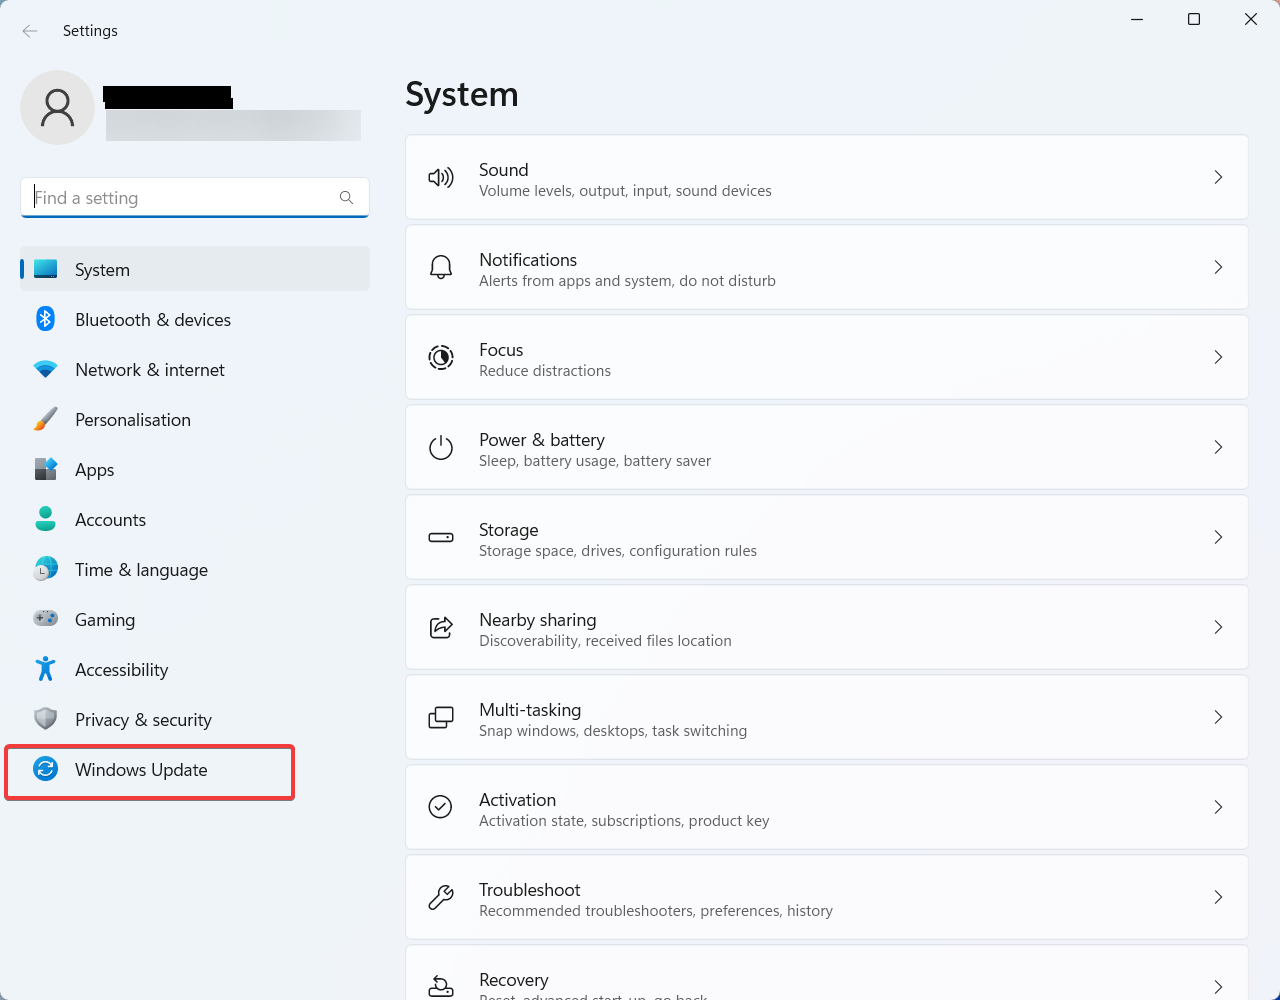
1.Press theWindows Key + Ito openWindows Settingson your box.
2.Now, from the left pane window, click onWindows Update.
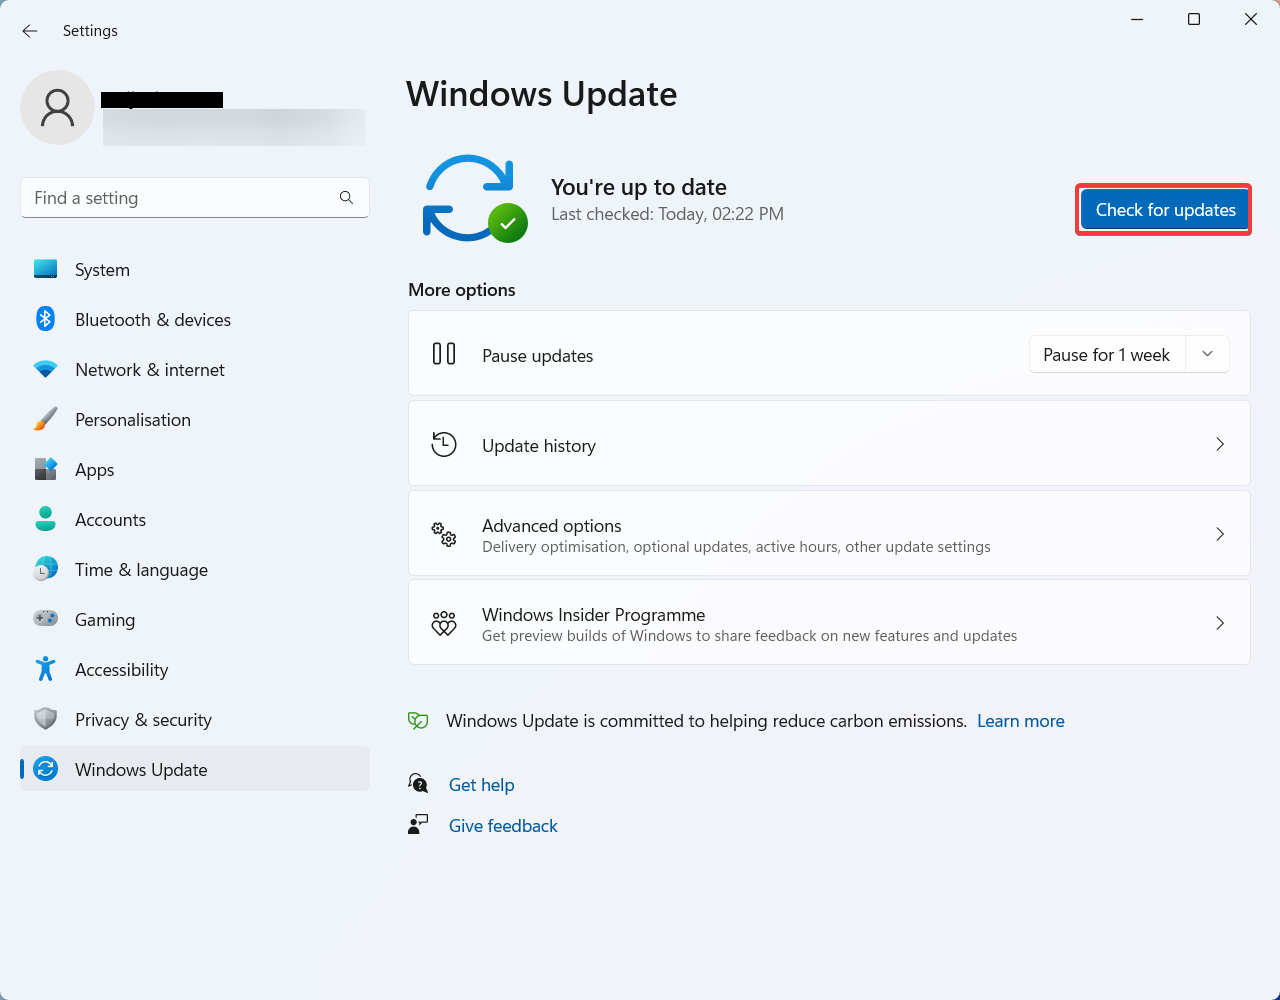
3.Then, pick the Check for updates button in the Windows Update window.
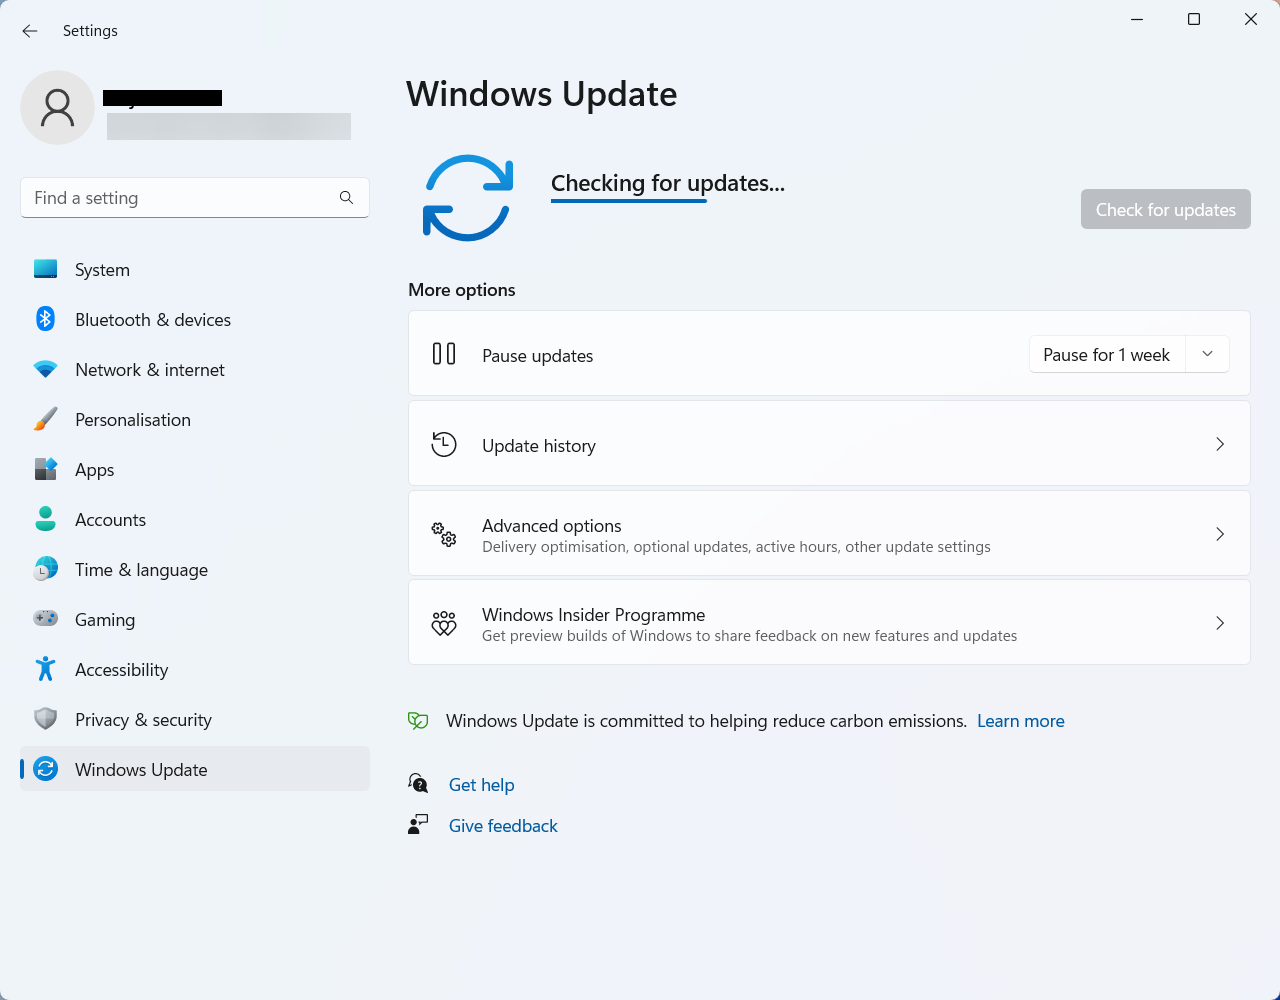
4.Now, wait untilWindows completes the scanfor available updates for your system.
This may take a few minutes.
5.Once the scan is complete, it shows a list of available updates.
Simply select Install updates tostart the installationprocess.
6.Now, Windows will download andinstallthe selectedupdates.
Depending on the size of the updates and your web link connection speed, it can take some time.
7.Once the installation is done, you may receive a prompt asking you torestartyour computer and apply the changes.
If so, choose Restart now to reboot your gear.
Conclusion
Thats all.
However, if you have other queries about your Windows computer, mention them in the comment section below.
You may also read some best ways to fix WindowsError Code 0x80070057andError Code 0x800704cf.
